
Introduction
Looking for a simple way to reduce the file size of your images on the web without compromising quality? Read on.

Before I teach you how to optimize & resize pictures for your website I want you to make a mental note of two common mistakes website owners make. Knowing these will help you avoid them and give you a better understanding of the image optimization process.
There are two common faux pas with regards to photographic content that I see regularly on websites. They are as follows:
blurry images
Some business owners have blurry low-quality photos on their websites.
Blurry, low-resolution pixelated images jeopardize the professional look and feel of a brand. Furthermore, the lack of detail in product photography will undermine the quality perception of your services or products.

Example of a website with blurry pixelated images. This screenshot was taken on the 21st of April 2021.
High-quality images, on the other hand, immediately valorize your product or service. Check out any luxury fashion brand of your choice and you will observe that they use high-quality, high-resolution photos and videos throughout their website.
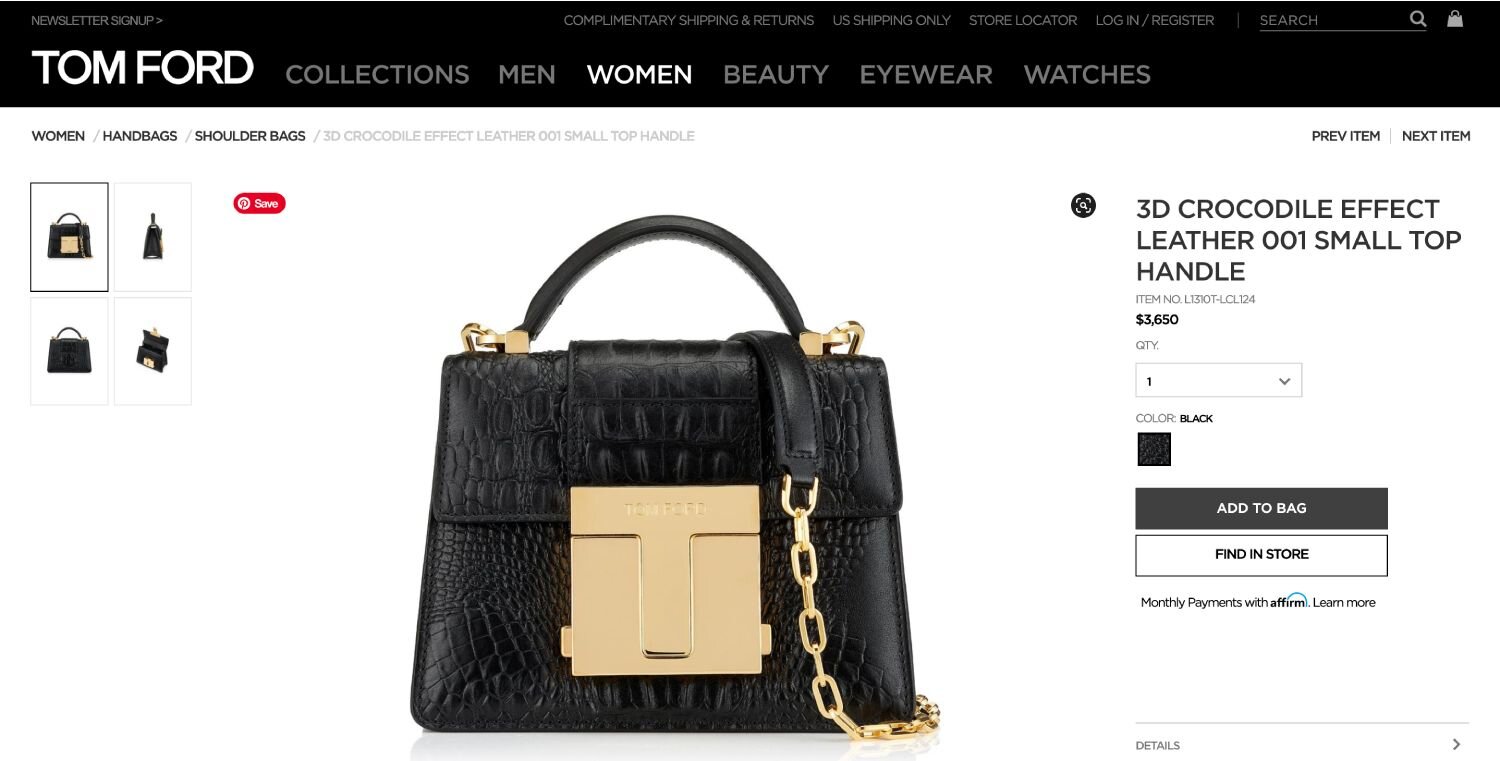
Image Optimisation done well by Tom Ford. So much so that we can almost feel & touch the handbag in our hands.
2. slow site speed due to heavy images
On the other hand, some websites do contain high-quality images, however, these images are too large to load quickly on a browser. This is especially true for mobile browsing when your users rely on 3G or 4G to connect. If you have ever been on a slow website, you will know how frustrating that is! Furthermore, websites with heavy images get penalized by Google search engines.

This photo takes 3.4 MB of space on a web server. And will take more than 10 seconds to load on a 3G or 4G connection. By the time it loads customers will be long bored & gone!
Best of Both worlds
Your website visitors want high-quality photos that load fast. Most visitors won’t wait around for your beautiful images to load. Cue image optimisation.
Image Optimisation for Your website
Fortunately, there is a solution to this file size/quality dilemma and it’s called “image optimization”.
Image optimization is a technique that enables you to find the perfect balance between photo quality and file size. Yes, you can have your cake and eat it too!
Introduction to Image Optimization
Image optimization is the process of resizing images to achieve the sweet spot between perfect size & quality.
There are two elements to consider. Image resolution & image file size.
When uploading images to your website, you need to make sure your images are at least 1500 pixels wide for your regular images and 2500 pixels wide for background pictures that take up the width of your website aptly called "Hero Images."
Before uploading your images you also need to compress them so that they take up less space and are faster to load on a browser. Ideally, all images should be compressed to a file size below 500 kb. The lower the file size the better. The trick is to reduce the file size without losing visual quality!
But how do you go about resizing photos correctly? Fasten your seatbelts I’ll show you how.
Choose the right tool.
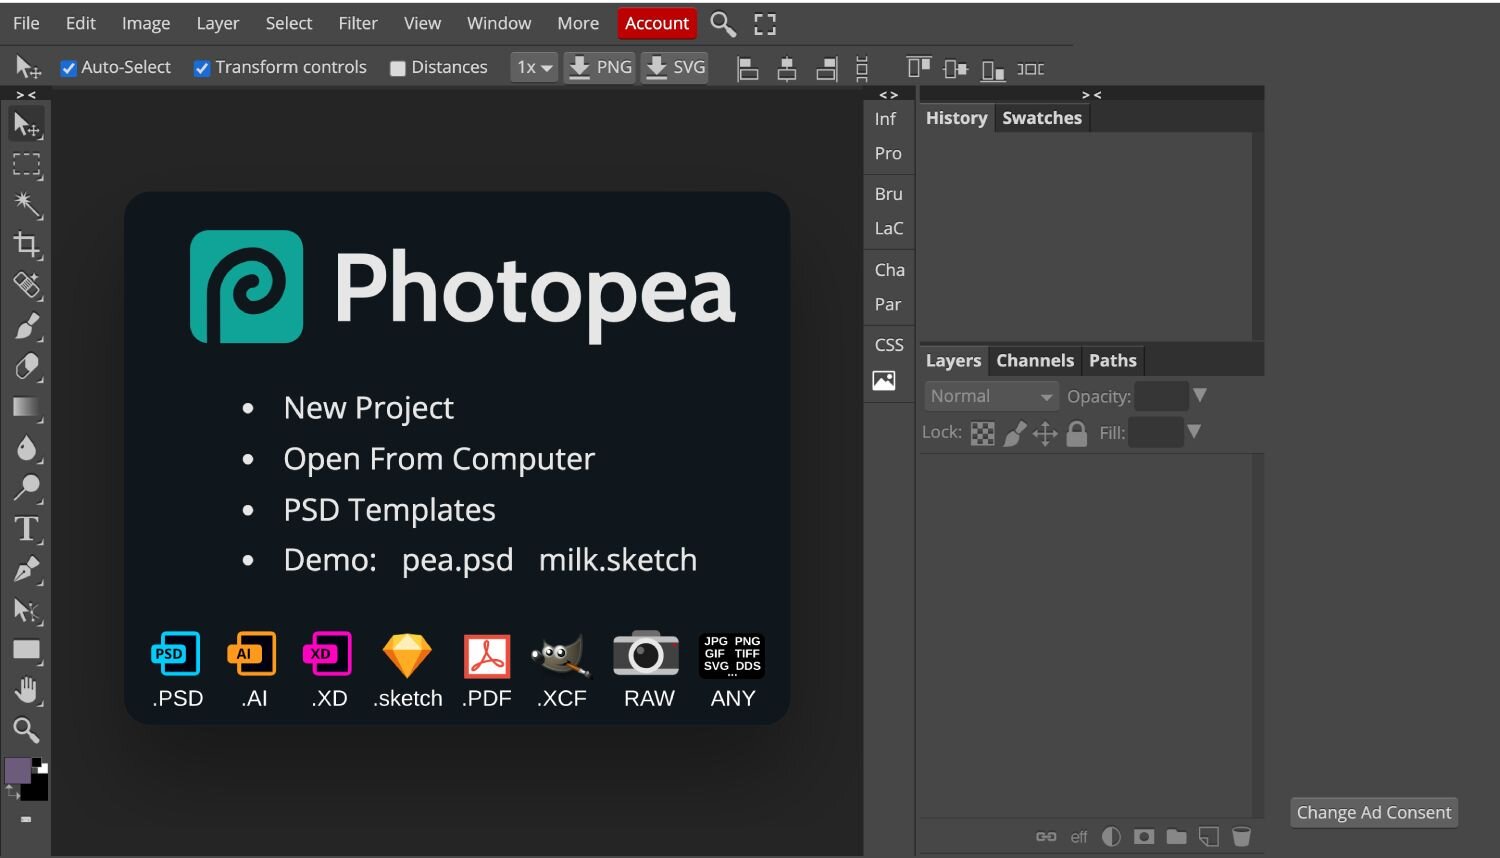
The first step in optimizing your images correctly is to identify the right tool. I personally recommend Photopea. Photopea is an excellent free tool for resizing & compressing images on your browser.
You won’t need to install Photopea, so it’s always accessible & ready to use no matter where you are.
Open your web browser and search for Photopea online.
Step by step Instructions
Now that you have your free tool, it's time to master it.
In this simple tutorial, I teach you how to optimize your images for the perfect quality/file size ratio! Follow the simple instructions below before you upload images to your website & your customers will thank you!
Step 1
First, you will need to adjust the pixel resolution so that your pictures are reduced in file size.
To adjust the pixel resolution follow these simple steps:
Open the image by going to File > Open.
Now that you have your photo in front of you go to Image > Image Size. You’ll see a dialogue box open up with some numbers on it.
Enter 1500 or 2500 px in the width row.
Press "OK" to confirm.

Step 2
Second, you will need to compress the Image to lighten the load speed of your image on the web. To compress your image, Follow these simple steps:
File export as JPG.
Set the Quality bar to 80%.
Press Save.

The Results!
Your image will now appear unpixelated on your website and yet load fast!
I optimized the umbrella below earlier using the same technique. As you can see this image is crystal clear yet only 39.3 KB in size!

A GENERAL RULE OF THUMB
As a general rule, keep images to 1500-2000 px in width and under 500 kb in file size.
All the images used in this blog post were created using the exact same method I shared with you here.
Now you can upload images to your website with the peace of mind that they will look good and load fast!
Professional web design service for your brand
Are you or your team overwhelmed with designing your website?
Do you & your team lack the design skills Necessary to create a glossy professional website?
Do you want a website that is designed strategically and reflects your brand DNA?
Do you lack the time to manage your website updates & attend to SEO & content updates?
Are you looking to delegate and hire expertise?
Bonjour from Branderella Paris. We are your bilingual digital marketing studio based in Paris! We spoil clients worldwide with our branded websites.
Learn more about our web design packages here.